To try to make sure that I’m incorporating STEAM on a regular basis in my third grade classroom, I’m going to try to hold “Challenge Friday” each week. The hard question for me is since I’m the language arts teacher, how can I get the kids to do STEAM projects while not losing one day every week from language arts instruction? This week, I found a good balance between having a fun challenge and language arts.
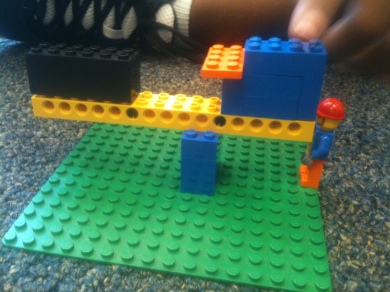
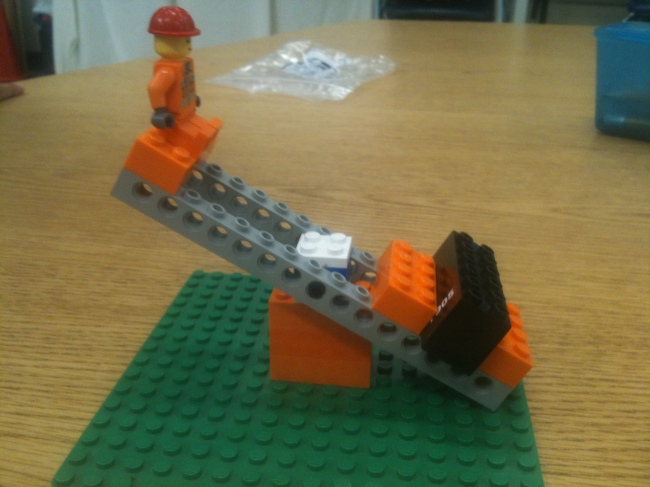
The challenge was that the kids had to build a lever out of Legos to help a Lego minifigure lift a 50g Lego block. Of course, the kids immediately asked me, “What’s a lever?” So we watched a quick 2-minute YouTube video so they could get a very basic understanding of what a lever is and what it’s used for. Then we read a book about levers with a 10-book set. The kids read the book with a partner and took notes about levers that they got from their nonfiction reading. Then we met together to discuss what levers are, how they are useful, what parts they have, and examples of levers. This background information took about 45 minutes.
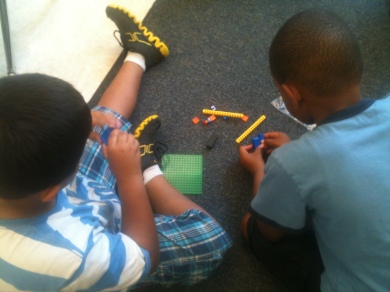
The remaining 45 minutes was for the kids to build levers. I gave almost no instruction on HOW to build the levers out of Legos. I gave each pair of children a bag with Lego pieces (each bag consisted of the same pieces). The only thing I told them was that they had to build a working lever to help the Lego minifigure lift a 50g block. (I also told them that their Lego minifigure had to wear his little miniature hard hat at all times, since lifting a 50g block when you are only an inch tall is very dangerous.)
The kids set to work right away and nearly every pair immediately placed the long rods on top of a 2×4 block. They then realized that with the rod secured on the 2×4 block, it couldn’t tilt back an forth on the fulcrum. From that point on, it was very interesting to watch the process the kids went through to solve the problem of needing the tilting action in order to make the lever work properly. Some kids figured out by experimenting with different pieces in the bag. Some got clues from other groups who had figured it out. Some kids improvised and figured out a completely different way to get the lever to work.
 As I went around from group to group, I asked them questions such as, “Can you tell me about the different parts of your lever?” (which required them to use the newly-acquired vocabulary to identify the fulcrum, load, and effort), “How does your lever work?”, and “What changes have you made to your design? Why did you make those changes?”
Finally after 30 minutes of build time, the kids brought their levers to a Share Circle (a common place for showcasing work and reflecting on learning). We went around the circle showing how the levers worked and explaining the different parts of the lever. I was very happy to see that EVERY SINGLE child was able to identify the fulcrum, the effort, and the load, and use the correct vocabulary in their explanations! I would definitely not have had that same result if the kids had simply read the book about levers and take notes on it. Maybe 3 or 4 children would have remembered the three parts of a lever after that, but definitely not all of them!
Our first Challenge Friday was a success! Next week we are going to stay with the same idea of the lever, but add a new twist!


How did you go about getting all the legos? Did you have to buy them yourself? Or did the kids bring them in?
Some might say that I’m a little obsessed with Legos…so I used the Legos that I already have!
Nice work! Glad to see you didn’t forget about safety in requiring the hard hats!